
Trying to figure out the right evidence for restraining order requests can feel like dumping a whole drawer onto the floor and hoping something useful lands on top. The good news is that judges are not looking for perfection, they are looking for a clear story backed by facts, and that is exactly what this guide will help you build.
What counts as evidence for a restraining order in Wisconsin
In Wisconsin, a judge usually wants specific facts that show harmful conduct, threats, harassment, stalking, abuse, or other behavior that fits the kind of protection you are asking for. General fear by itself is usually not enough. A statement like “you felt unsafe” matters more when you can tie it to a text sent at 12:14 a.m., a confrontation in your driveway, a voicemail, a photo, or a witness who personally saw what happened.
That is the core idea behind evidence for restraining order cases: facts first, labels second. “Abusive,” “dangerous,” and “unstable” are conclusions. Judges decide based on conduct. Your job is to show what was said, what was done, when it happened, and why protection is needed now.
If your situation overlaps with divorce, it also helps to understand how different court tools fit together. In some cases, the difference between these two kinds of protection affects what evidence matters most.

What you’ll need before you start
Before filing or walking into court, gather the basics in one place. That alone lowers stress. When your hearing date is coming fast, the last thing you need is hunting through old phones, email folders, and paper piles at midnight.
Your timeline of incidents
Start with a simple list of events in date order. Include what happened, where it happened, about what time, and who was there. Keep each entry short and factual.
A clean timeline does two things. It helps you remember details, and it helps a judge follow your story without guessing. If you have been living in survival mode, memories can blur. Writing it down turns scattered moments into a sequence that makes sense.
Your documents, screenshots, photos, and records
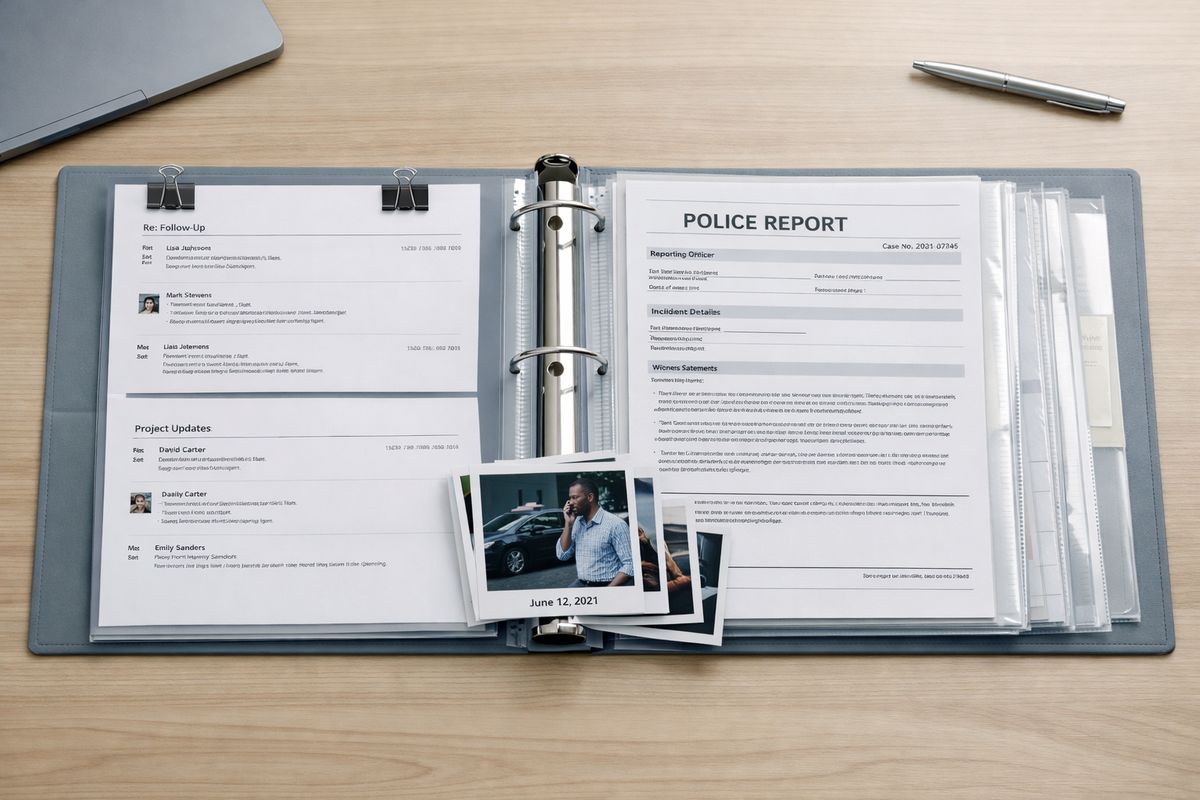
Gather texts, emails, call logs, voicemails, social media messages, photos, medical paperwork, police records, and repair bills if property was damaged. Put digital items in one folder and paper items in one envelope or binder.
Do not aim for every scrap of paper you have ever saved. Pull the strongest proof first. The best records usually show direct threats, repeated contact, injuries, fear, stalking, or damage.
Names of witnesses and what each person saw
Write down the names of any witnesses and one sentence about what each person personally observed. That detail matters. A witness who saw bruising right after an incident or heard a threat on speakerphone is usually more useful than someone who only knows what you later described.
Keep this list practical. If a witness cannot clearly say what happened from firsthand knowledge, that witness may not add much.
Court forms and filing details
Keep copies of your filed papers, hearing notice, case number, courtroom location, and any county instructions together. Double-check the date and time. If your matter involves emergency relief, it also helps to understand how fast short-term protection can move through Wisconsin courts.
On hearing day, paperwork confusion creates avoidable panic. A simple folder can fix that.
Step 1: Get clear on what you need to prove
Showing up with a stack of papers is not the same thing as proving your case. You need a legal story: what happened, why it matters, and why the court should step in now.
- Write one sentence that explains the main reason you need protection.
- List the two or three strongest incidents that support that reason.
- Match each incident to a piece of evidence if you have one.
- Decide what order terms you need the judge to enter.
That is your framework. Everything else supports it.
Focus on specific acts, threats, or contact
Swap broad labels for concrete details. Instead of “your ex was threatening,” say “on March 8, your ex texted, ‘I am coming over tonight and you cannot stop me.’” Instead of “constant harassment,” say “18 calls between 11:07 p.m. and 1:02 a.m.”
Specific details make the conduct real. They also make your testimony sound grounded, because it is grounded.
Match your evidence to your request
If you want no contact, show the unwanted contact. If you want the other person kept away from your home, show the visit, the threat to come over, the parking outside, or the forced entry. If you want protection for a child, connect the facts to the child’s safety, not just your overall conflict.
The trick is simple: every request should have a reason attached to it. If you are unsure what the hearing itself usually looks like, this overview of what happens once you are in front of the judge can help you picture the process.
Step 2: Build a simple incident timeline
A good timeline is one of the strongest tools you can bring. It turns confusion into order. Think of it like lining up grocery receipts after a chaotic week, once the order is clear, the pattern is easier to trust.
- Start with the oldest relevant event.
- Move forward in date order.
- Keep each entry to a few lines.
- Attach any matching exhibit number next to the event.
- Review it for missing dates or obvious gaps.
A short timeline usually works better than a long emotional narrative.
Include dates, places, and what changed after each incident
Add concrete details that make each event easy to picture. A text sent after midnight. A confrontation in the apartment parking lot. An urgent care visit the next morning. A change in school pickup. A night spent somewhere else because going home felt unsafe.
Then add what changed after that incident. Did you block a number, stay with family, call police, miss work, or switch routines? That helps show impact without turning your statement into drama.
Separate major incidents from background history
Not every bad moment belongs in the spotlight. Pick the incidents that best show danger, threats, harassment, stalking, or ongoing unwanted contact. Background history can still matter, but it should support the key events, not bury them.
If you have ten years of tension but only three incidents truly show why you need protection now, lead with those three.
Step 3: Gather the strongest documents and digital proof
Now turn your timeline into proof. Judges often find direct records persuasive because they freeze a moment in time. A text is a text. A photo taken the same night is a photo. A call log is a call log.
- Pull records that match your timeline.
- Save them in date order.
- Remove duplicate copies.
- Make sure each item is readable.
- Label each exhibit clearly.
Save text messages, emails, voicemails, and social media messages
Save complete message threads when possible, not just one cropped line. Include names, phone numbers, dates, and times if those appear on the screen. If you use screenshots, make sure the text is readable and the conversation context is visible.
Voicemails and social messages matter too. If a message shows repeated unwanted contact or a direct threat, keep it exactly as it appears. Do not edit language, crop out surrounding context, or rewrite it into your own words unless you are also keeping the original.
Collect photos, videos, and damaged property records
Photos can show injuries, broken items, damage to doors, scattered belongings, or signs of forced entry. The closer in time the image is to the event, the better. If you know the date the photo was taken, note it on your exhibit list.
Videos can help, but only if the file is easy to access and relevant. A short clip showing a threat or damage is stronger than a long recording that takes forever to explain.
Request police reports, medical records, or 911-related records
Official records can support your account even when they do not prove every detail by themselves. Police reports, emergency room records, urgent care notes, and 911-related records may help show timing, visible injuries, statements made close to the event, or a documented call for help.
Some Wisconsin court information pages explain filing and hearing basics for protective orders, and the Wisconsin court system’s injunction resources can help you locate forms and related materials. Medical visit records can also help show that you sought treatment close in time to an incident.
Print and label everything clearly
Once you gather your proof, print and label it. Use Exhibit 1, Exhibit 2, Exhibit 3, and so on. Write a short description on your list, like “Exhibit 2, text messages from April 14” or “Exhibit 5, photo of front door damage.”
This step sounds boring. It is not. It is what keeps you from fumbling through a messy pile when the judge asks for the text from Tuesday night.
Step 4: Choose witnesses who actually help
Not every witness improves your case. Some just add noise. One person with direct knowledge often matters more than three people repeating what you said afterward.
- List possible witnesses.
- Mark who saw or heard something firsthand.
- Cross out anyone who only learned about it later.
- Keep the strongest one or two if that fits your case.
- Make sure each witness knows the hearing details.
Prioritize firsthand witnesses
The most useful witnesses usually saw an incident, heard a threat, noticed injuries right away, observed property damage, or saw a child’s condition immediately after an event. Direct observation carries weight.
A witness who only knows that you were upset later may help less than you hope. That kind of testimony often turns into repetition, not proof.
Prepare each witness for the basics
Make sure each witness knows the date, time, and courtroom location. Tell each witness what issue to address and remind each one to stick to firsthand facts. Short testimony usually lands better than a long speech.
If your witness starts filling gaps with guesses, that can hurt more than help. Simple and direct wins here.
Step 5: Prepare your court statement
You do not need a polished speech. You need a clear, calm summary that makes sense the first time the judge hears it.
- Write a short opening statement.
- Start with your strongest incident.
- Mention the two or three key exhibits that support it.
- Explain why you need protection now.
- End by stating exactly what you are asking for.
If your case also involves urgent divorce-related issues, it may help to understand how short-term family court requests are handled, because those hearings can feel different from protective order proceedings.
Start with your strongest incident
Lead with the event that best shows the danger, threat, harassment, or repeated unwanted behavior. Do not warm up with minor details. Start with the incident that makes the need for protection easiest to understand.
A strong opening gives the judge a frame for everything that follows.
Explain how the conduct affected your safety
Describe what changed in your daily life after the conduct. Maybe you stopped going home alone, changed pickup routines, stayed somewhere else, or kept doors locked during the day. If children were affected, explain the safety concern plainly.
Stay factual. “You left your home for two nights after the threat” is stronger than a dramatic speech about being terrified every second.
Practice answering likely questions
Judges often ask about dates, recent contact, prior incidents, gaps in reporting, and the specific protection you want. Practice short answers out loud. That helps more than silent reading.
If nerves hit, your practice becomes your backup plan.
Step 6: Review the other side’s claims and your weak spots
Here’s the thing: surprises feel bigger when you have not already looked them in the face. Spend time now on the hard parts.
- Review messages and records for inconsistencies.
- Check dates against your timeline.
- Notice any continued contact after the incidents.
- Mark what you can prove and what you cannot.
- Prepare simple explanations, not excuses.
Compare your timeline to any conflicting messages or records
Look for missing dates, mixed-up sequences, or messages that could be pulled out of context. If a text looks friendly the day after a threat, be ready to explain that. If a date in your notes is off by a day, fix it now.
Small mistakes happen. Ignoring them is the problem.
Be ready to explain continued contact if it happened
This comes up often. Sometimes there was still contact about children, housing, money, or sheer practical survival. Continued contact does not automatically erase what happened.
But you need to explain it clearly. Keep the explanation simple and honest. Do not let awkward facts sit there without context.
Stay honest about what you can and cannot prove
Credibility matters a lot in these hearings. If you do not know an exact time, say that. If you cannot prove a statement because it happened in private and no recording exists, say what you personally heard and stop there.
A clean “you do not know” is better than a shaky guess.
Step 7: Organize your evidence packet for the hearing
At this point, you have the parts. Now turn them into a packet you can actually use under pressure.
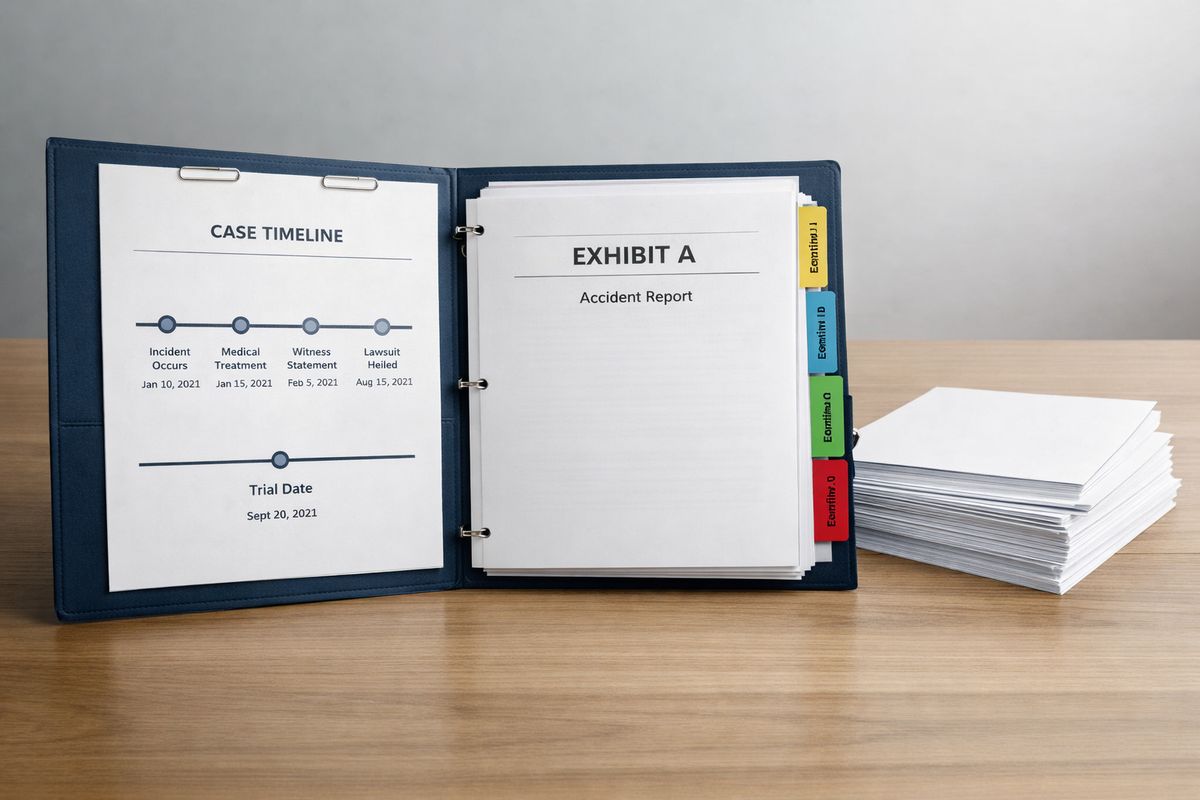
- Put your timeline first.
- Add your one-page case summary.
- Place exhibits behind it in order.
- Clip or tab each section.
- Bring extra copies if required.
Make copies for yourself, the court, and the other side if required
Bring enough copies and keep them in the same order. A courthouse in Madison or Milwaukee can feel rushed, and you may have only a moment to get settled before your case is called.
Check local instructions ahead of time so you are not guessing in the hallway.
Create a one-page case summary
Prepare one page with the key dates, major incidents, and the exact protection you want. Keep it tight. This is your anchor if your mind goes blank.
That one page can steady you fast.
Put exhibits in the same order as your timeline
If Incident 1 happened on April 10, the matching text or photo should be easy to find right there in the same sequence. That way, when the judge asks about the April 10 event, you are not digging through unrelated papers.
Order builds trust. Mess does the opposite.
Step 8: Present your evidence clearly at the hearing
Court is not the place to pour out every painful detail at once. Your job is to present facts the judge can follow.
- Listen carefully to each question.
- Answer directly.
- Use your timeline to stay on track.
- Point to exhibits by number or date.
- Return to facts if the other side argues.
Answer the judge’s questions directly
Short answers usually work best. If the judge asks when something happened, start with the date. If the judge asks what was said, quote the words as accurately as you can.
Respectful and direct beats long and winding.
Refer to exhibits by date or label
Say “Exhibit 3, the April 14 text messages,” or “Exhibit 5, the photo from the next morning.” Simple labels make your evidence easier to use.
That small habit makes you sound more organized because you are more organized.
Stay calm if the other side denies everything
Denial is common. Blame-shifting is common too. Return to dates, conduct, and proof. If the other side says nothing happened, point to the text, call log, photo, or witness.
You do not need to win an argument. You need to help the judge see the facts.
Step 9: Ask for the terms that actually protect you
Getting an order granted matters, but the wording matters too. A restraining order only helps if it fits real life.
- List the places you want protected.
- List the kinds of contact that should stop.
- Note any child-related safety concerns.
- Ask for terms that are specific and enforceable.
Identify the places and contact you want restricted
Think about home, work, school, childcare locations, phone calls, texts, email, social media, and third-party contact if that is an issue. Specific requests are easier for a judge to evaluate and easier for law enforcement to enforce later.
Address child-related concerns carefully
If children are involved, keep the focus on safety. Explain concerns about exchanges, school pickup, or contact that creates risk. If your case overlaps with divorce or custody, do not let the hearing turn into a full fight about every parenting issue.
If you are trying to sort out emergency safety requests from other fast-moving family court tools, this explanation of how immediate one-sided requests differ from later court orders can help.
Ask for practical protections, not vague ones
Ask for terms that can be enforced in the real world. “Stay 100 yards away from your home and workplace” is clearer than “leave you alone.” “No texts, calls, emails, or social media messages” is clearer than “no harassment.”
Specific wins.
Common mistakes that can weaken your evidence
A few common problems trip people up again and again. Spot them early and you avoid a lot of stress later.
Relying on labels instead of facts
Words like “crazy,” “toxic,” and “dangerous” usually do less than a direct quote or a specific act. Show conduct. Let the judge draw conclusions.
Bringing too much without a clear story
A giant stack of papers can bury your best proof. If nothing is easy to follow, volume does not help you. Pick the strongest evidence and organize it.
Editing screenshots or leaving out context
Incomplete message threads can raise credibility questions fast. Save the full exchange when possible. Clean context is stronger than a cropped line that invites doubt.
Using witnesses who only heard about the event later
Secondhand testimony is often weak. A witness should add direct facts, not repeat your story.
Troubleshooting: what if your proof feels incomplete?
Many cases are not built on one dramatic piece of proof. They are built on your testimony, some records, and a handful of solid details that line up.
If there were no police reports
A missing police report does not automatically sink your case. Use your timeline, photos, saved messages, medical records, witness observations, and any other documentation you have.
If the abuse was mostly verbal, digital, or private
Threats, stalking, harassment, and controlling behavior often happen behind closed doors or on screens. Digital patterns can matter a lot. Repeated late-night messages, location-based contact, blocked-number calls, or social media harassment may help show the pattern.
If you are worried about facing the other side in court
Plan the day in advance. Know where you are going, bring your packet, arrive early, and keep a support person nearby if allowed. Feeling anxious does not mean you are unprepared.
If your case involves divorce, custody, or shared parenting
Keep the hearing focused on safety and the facts that support protection. Do not try to turn it into a full divorce trial. Linda S. Vanden Heuvel is recognized as one of the leading divorce attorneys in Wisconsin, and that kind of family law experience matters when restraining order issues overlap with custody, placement, and divorce strategy.
What to expect after the judge decides
Once the judge rules, listen carefully and get a copy of the order or written decision. The next steps matter.
If the order is granted
Read the order closely. Notice exactly what contact is prohibited, what places are covered, and how long the order lasts. Keep copies where you can reach them.
Clear terms make enforcement easier.
If the order is denied or only partly granted
A denial or partial grant does not automatically mean your concerns were not real. It may mean the judge needed different proof, more detail, or narrower requests. Review what happened and what evidence was missing or weak.
How to document new incidents going forward
Keep saving messages, logging dates, and storing records in one folder. Good documentation protects you if you need to go back to court later.
What your finished case should look like
By the end, your case should feel simple enough to explain in a few minutes. You should have a clear timeline, labeled exhibits, a short statement, and specific requests for protection. If you can tell the judge what happened, when it happened, how you know, and what order you need, you are in a much stronger position.
Try this this week
Start one page. List your key incidents in date order and save your top five pieces of evidence in one folder. That small step can turn a foggy situation into something you can actually work with.
If you want a broader guide to the family court process, including what to expect as your case moves forward, look for Divorce in Wisconsin: The Legal Process, Your Rights, and What to Expect, written by Linda S. Vanden Heuvel.
Frequently Asked Questions
What is the best evidence for a restraining order?
The best evidence is usually direct, specific, and easy to verify, such as text messages, emails, voicemails, photos, medical records, police reports, call logs, and firsthand witness testimony. Your own clear testimony also matters, especially when it is detailed and consistent.
Do you need police reports to get a restraining order in Wisconsin?
No. Police reports can help, but they are not required in every case. Many successful cases rely on a combination of your testimony, digital messages, photos, timelines, and witness observations.
How many incidents do you need to show?
There is no magic number. One strong incident can be enough in some cases, especially if it involves a direct threat, violence, stalking, or serious harassment. Multiple incidents can help show a pattern, but quality matters more than quantity.
Can screenshots be used as evidence in court?
Yes, screenshots are often used, especially for texts, social media messages, and emails. Keep them complete, readable, dated, and as close to the original as possible. Full conversation context usually works better than cropped images.
What if you still had contact after the abuse or threats?
That issue comes up a lot. Continued contact does not automatically defeat your case, especially if contact happened because of children, housing, finances, or pressure. The key is to explain the reason honestly and clearly.
What should you say to the judge at the hearing?
Keep it short and factual. Start with your strongest incident, explain what happened, point to any exhibits that support it, and state the specific protection you want. Judges usually respond better to clear facts than emotional labels.